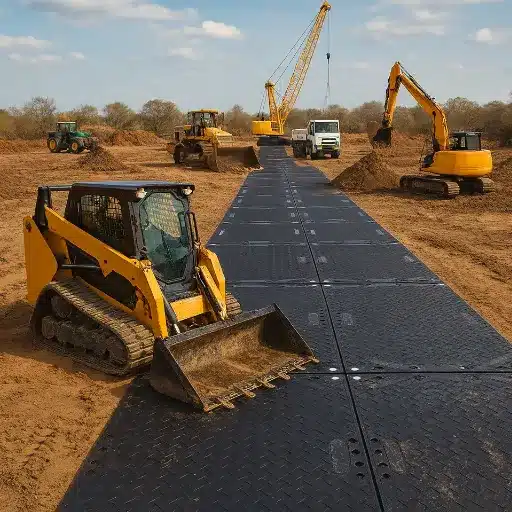
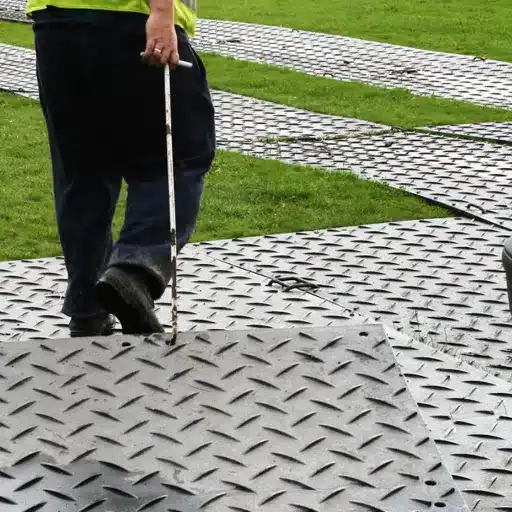
Ground protection mat installation follows seven steps: assess and prep the subgrade, plan the layout, lay the first course from firm ground, stagger joints by half a mat length, interlock all connections, anchor on slopes over 10%, and install edge ramps for smooth transitions. Proper installation prevents mat shift, subgrade damage, and costly rework.
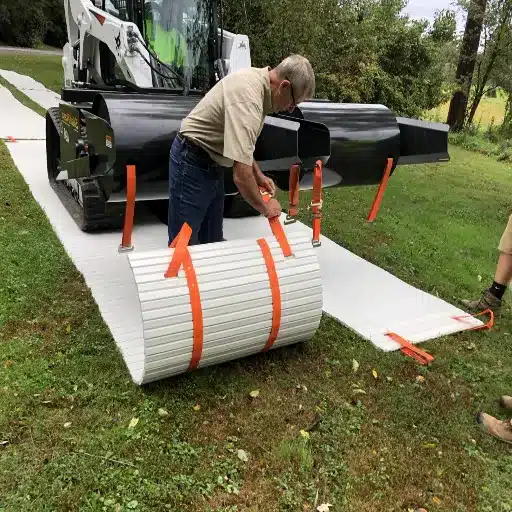
A crew in Alberta installed 300 HDPE mats across a pipeline access corridor in four hours. The crew on the next section spent two days fixing theirs. They started from soft ground, aligned their joints instead of staggering them, and forgot to let the mats acclimatize before tightening connections. The difference between a four-hour job and a two-day rework is not the crew size. It is the checklist.
Most installation failures are not caused by bad mats. They are caused by skipped steps that seem optional until the first heavy truck drives over them.
This guide covers ground protection mat installation from site preparation through storage. Every step includes measurements, tolerances, and the cost of getting it wrong. Whether you are installing ten mats for a pedestrian walkway or five hundred for a haul road, the process is the same.
For the complete technical overview of mat types and selection criteria, see our complete ground protection mats buyer’s guide. For guidance on choosing the right mats for your ground conditions, see our article on how to choose ground protection mats.
Key Takeaways
- Ground protection mat installation requires seven steps from site prep to edge ramps; skipping any step causes failure under load.
- Stagger joints by 48 inches (half an 8-foot mat) to prevent continuous seams that separate under traffic.
- Always start laying from the firmest surface and work toward soft ground to anchor the layout.
- Slopes over 10% require perpendicular mat orientation plus steel stakes or rebar anchors spaced every 4 feet.
- Let HDPE mats acclimatize for 15-20 minutes before final tightening to prevent thermal expansion warping.
What You Need Before You Start: Tools and Materials
Ground protection mat installation requires specific tools and materials. Arriving on site without them causes delays that compound throughout the entire project.
Tools Required
- Pry bar or mat lifter (1 per 2 workers)
- Rubber mallet for seating connections
- Measuring tape (25-foot minimum)
- String line or laser level for alignment
- Steel stakes or rebar pins for slope anchoring
- Hammer or pneumatic driver for stakes
- Utility knife for geotextile trimming
- Camera for subgrade documentation
For a crew of four installing 200 mats, bring two pry bars, two rubber mallets, two measuring tapes, one string line, and twenty steel stakes. This keeps two installation pairs working in parallel without waiting for shared tools.
Materials Required
- Mats: calculate by zone area plus 10-15% surplus for cutting waste and damage replacement
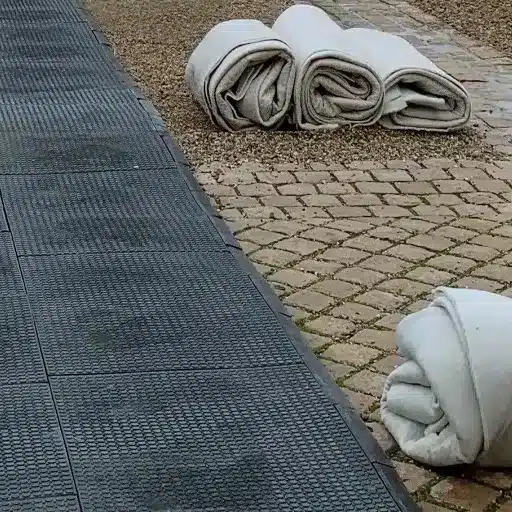
- Geotextile underlayment: for wet, saturated, or sensitive ground
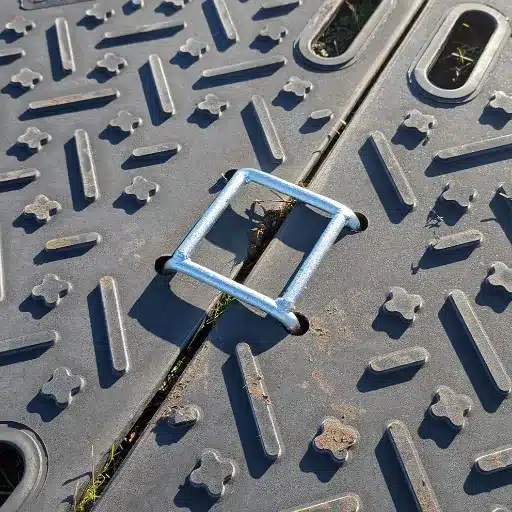
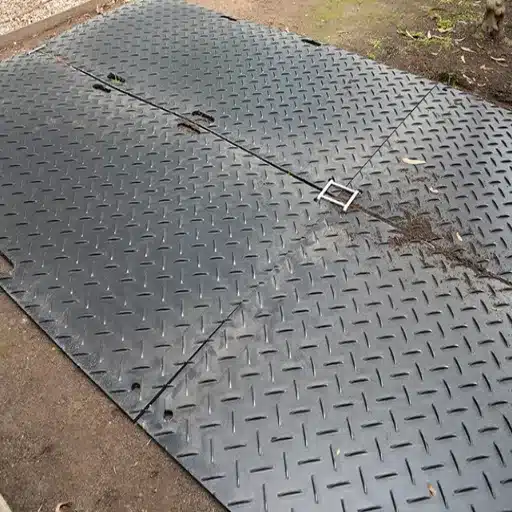
- Connector pins or clips: one per joint, every row
- Edge ramps: one per vehicle entry/exit point
- Sandbags: alternative anchoring for slopes where stakes cannot penetrate
Step 1: Site Preparation and Subgrade Assessment
The quality of a ground protection mat installation is determined before the first mat is placed. Skipping site prep is the single most common cause of installation failure.
Clear the Surface
Remove all rocks, stumps, branches, and debris larger than 2 inches. These create point-loading stress that can crack HDPE panels under heavy equipment. Fill potholes and depressions deeper than 3 inches with compacted fill. The finished subgrade should be within 2 inches of level per 10 feet of run.
Assess Soil and Moisture
Identify the soil type. Clay and organic soils have low California Bearing Ratio (CBR) values, often below 3%, meaning they cannot support concentrated loads without reinforcement. Saturated soils require a geotextile separation layer beneath the mats. This layer prevents mud from migrating upward and stops mats from punching into the subgrade.
A contractor named Lars skipped the geotextile on a wetland access job in Norway. The soil was peat with a CBR of 1.5%. After three days of excavator traffic, the mats had sunk 6 inches into the peat. The crew had to remove all 150 mats, lay geotextile, and reinstall. The delay cost $4,800 in labor. The geotextile would have cost $600 and added one hour to the install.
Mark Hazards and Utilities
Locate and mark all buried utilities, drainage structures, and septic fields. Mats should not cover access points that require maintenance during the project. For detailed roadway layout and access road planning, see our guide on temporary roadway mats for site access roads.
Step 2: Plan the Layout
Before touching a mat, calculate the layout. Changing the plan after installation starts means lifting and relaying panels.
Calculate Mat Count
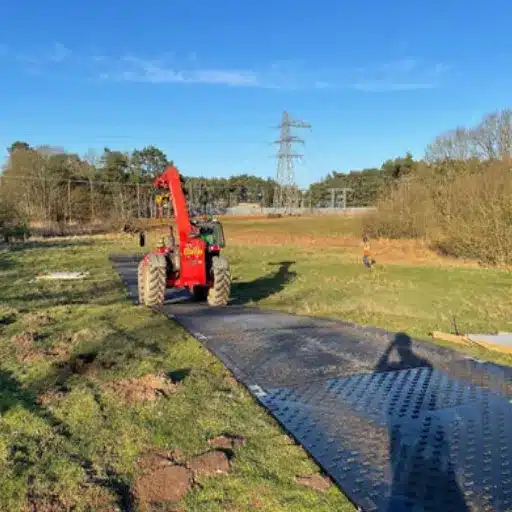
Standard HDPE mats are 4 feet by 8 feet. For a single-lane access road 8 feet wide and 300 feet long, you need 300 divided by 8, which equals 37.5 mats per row. Round up to 38. Order 42 mats to allow for cutting waste and damage.
For a two-lane road 16 feet wide, double the count.
Determine Direction of Travel
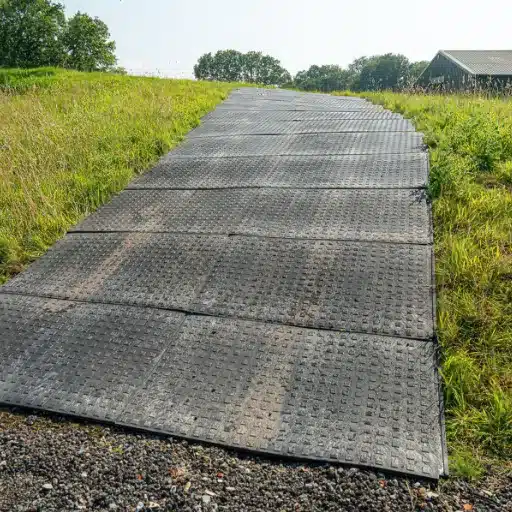
Mats must be laid in the direction that the equipment will travel. The long edge of the mat should align with the direction of traffic. This reduces edge uplift and prevents tires from catching mat corners.
Plan the Stagger Pattern
Offset each row by half a mat length. For standard 8-foot mats, this means a 48-inch stagger.
Never align joints continuously across the full width. A continuous transverse joint creates a line of weakness. Under repeated loading, the joint separates and the road fails.
Mark the Start Point
Begin from the hardest, most stable surface available, typically a paved road or compacted gravel pad. Mats should always transition from firm to soft ground. Starting from the soft end means the first mats have no stable foundation to anchor against, and the entire layout can shift under traffic.
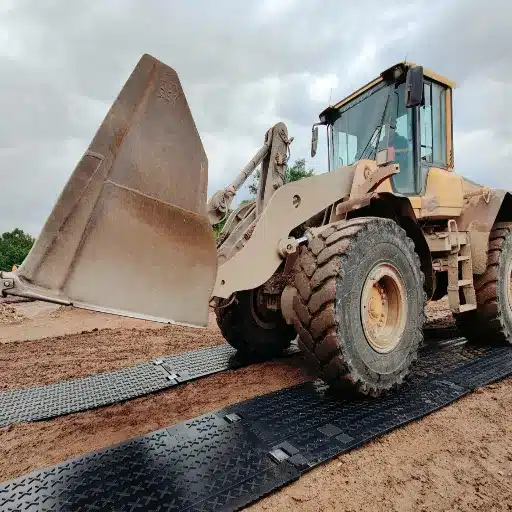
Step 3: Lay the First Course
The first course of mats establishes the alignment for the entire installation. Get this row right, and the rest follows. Get it wrong, and the error compounds across every subsequent row.
Start from Firm Ground
Place the first mat at the transition from the paved or compacted surface. Pull the mat forward into position rather than pushing it from behind. Pulling aligns the mat edge with the direction of load travel. Pushing can torque the mat and create misalignment.
Maintain Consistent Spacing
Leave a 1/4-inch to 1/2-inch gap between mats for thermal expansion. HDPE expands approximately 1/8 inch per 10 degrees Fahrenheit of temperature change.
A mat installed at 45 degrees on a cold morning will grow by 1/2 inch if the afternoon reaches 85 degrees. Without expansion gaps, mats buckle and pop connections.
Sight-Check Alignment
After placing the first 10 to 15 mats, stand at the end of the installed section and sight down the length. Lateral creep shows immediately from this perspective. Correct alignment issues early. Fixing a 15-mat section takes 10 minutes. Fixing a 200-mat section takes hours.
A foreman named Derek learned this in Texas. His crew laid 80 mats on a solar farm access road without sight-checking. When they stepped back, the road had drifted 3 feet off the marked centerline over 200 feet. They spent six hours lifting and relaying half the mats. A 30-second sight check after the first row would have caught the drift.
Step 4: Stagger Joints and Maintain Overlap
Staggered joints are the single most important structural detail in ground protection mat installation. This is where most self-installed roads fail.
Why Staggering Matters
When joints align continuously across the width of a road, the seam creates a straight line of weakness. Every time a tire or track crosses that line, it applies shear force at the joint. After repeated crossings, the mats separate. Water and mud infiltrate the gap.
The subgrade erodes. The road fails.
Staggering distributes loads across multiple joints. No single seam carries the full shear force. Load transfers diagonally across adjacent mats, and the road remains intact.
The 48-Inch Rule
For standard 8-foot mats, offset each successive row by 48 inches. This places the joint of row two at the midpoint of the mats in row one. The pattern repeats like brickwork. For 4-foot mats, the stagger is 24 inches.
Minimum Overlap at Edges and Corners
At road edges, turns, and width transitions, maintain a minimum 6-inch overlap between adjacent mats. This prevents the gap-and-catch hazard when tracks or tires run between mat edges. On corners where the road turns, increase overlap to 12 inches to handle the lateral shear of turning loads.
Step 5: Interlock and Connect
Unconnected mats slide apart under braking, turning, and acceleration. They cannot distribute loads. They become individual panels that punch into the subgrade independently.
Connection Types
HDPE mats use three main connection systems:
- Interlocking edges: Tongue-and-groove profiles molded into the mat perimeter. Mats slide together and lock without additional hardware. Fast to install, but less secure under extreme loads.
- Steel connector clips: U-shaped clips inserted into pre-drilled holes along mat edges. More secure than interlocking edges, it requires a rubber mallet to seat. Recommended for heavy equipment and high-traffic roads.
- Bolted flanges: Composite mats with through-bolted flanges at the perimeter. Highest security, requires wrenches and takes longer to install. Used for crane pads and extreme loads.
Install All Connections Before First Vehicle Drives On
This rule is non-negotiable. A partially connected road will shift under the first heavy load.
Connections that were skipped become gaps. Gaps become ruts. Ruts become full road failure. Connect every joint, every row, before opening the road to traffic.
Walk-Test Before Opening
After connecting all mats, walk the full length of the installation. Test each connection by stepping on the joint. If the mat moves or the connection pops, reseat it. A connection that fails under a 200-pound worker will certainly fail under a 40-ton truck.
For guidance on selecting the right mat type and connection system for your equipment, see our article on how to choose ground protection mats.
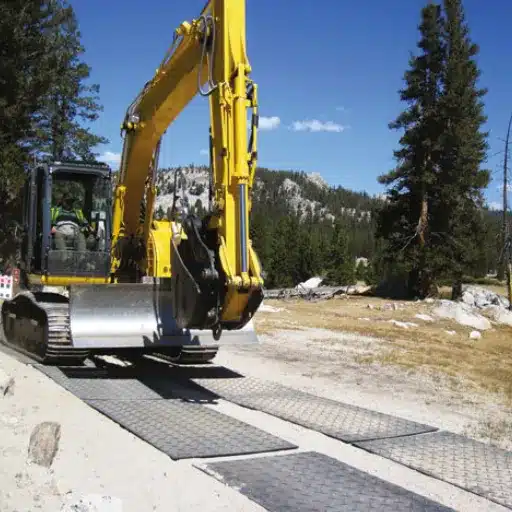
Step 6: Anchor on Slopes and Uneven Ground

Flat ground is forgiving. Slopes punish every installation error.
Slope Threshold for Anchoring
Grades over 10% require additional anchoring. On flat ground, friction between the mat and subgrade resists sliding. On a slope, gravity works against you. Without anchors, mats slide downhill under their own weight, and traffic accelerates the migration.
Perpendicular Orientation
On slopes, orient the longest dimension of the mat perpendicular to the slope direction. An 8-foot mat placed with its long edge running across the slope spans more ground and resists sliding better than a mat aligned with the fall line.
Anchor Types and Spacing
- Steel stakes: 18-inch rebar or purpose-made ground stakes driven through pre-drilled mat holes. Space every 4 feet along mat edges and at every joint intersection.
- Rebar pins: 3/4-inch rebar cut to 24-inch lengths. Drill through the mat, drive the pin into the subgrade, and cut flush with the surface. Use on firm soils where stakes cannot penetrate.
- Sandbags: Place filled sandbags at mat corners and along edges. Use on very soft ground where stakes pull out, or on sensitive surfaces where penetration is prohibited.
For construction site-specific deployment strategies, including slope work, see our guide on ground protection mats for construction sites.
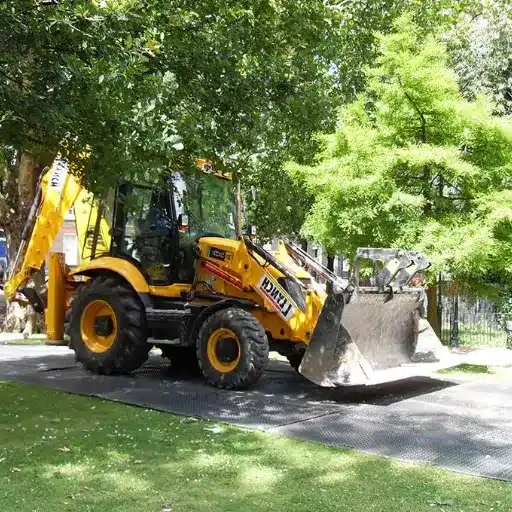
Step 7: Edge Transitions and Ramps
The transition from mat surface to natural ground is where most trip hazards and vehicle damage occur.
Install Ramp Accessories
Use purpose-built ramp edges where the temporary road meets existing ground. Ramps should have a slope no steeper than 1:6, meaning 1 inch of rise for every 6 inches of run.
For a 1-inch-thick mat, the ramp needs 6 inches of transition length. This prevents tires from catching mat edges and reduces trip hazards for pedestrians.
Verify Road Width
Single-lane equipment access requires a minimum 8-foot width. Two-lane or combined equipment and pedestrian routes need 12 to 16 feet. When in doubt, go wider. Vehicles that drive off the edge create concentrated loads at the mat perimeter. Edge mats crack. Soil beneath compacts. The road narrows itself through damage.
Common Installation Mistakes and Their Costs
Every mistake in ground protection mat installation has a price. The table below quantifies what each error costs in labor, materials, and delay.
| Mistake | Cause | Dollar Impact | Prevention |
|---|---|---|---|
| Skipping the geotextile on wet soil | Assuming mats alone are sufficient | $500−$2,000 in reinstall labor | Lay geotextile when CBR < 3% or soil is saturated |
| Starting from soft ground | Convenience or wrong access point | 4-8 hours additional labor ($800−$1,600) | Always start from the firmest surface |
| Non-staggered joints | Speed or lack of planning | $70−$200 per damaged mat, plus delay | Offset each row by half the mat length |
| Ignoring thermal expansion | Tightening cold mats in the hot sun | Reduced lifespan, premature replacement ($2,000−$5,000) | Leave 1/4-1/2 inch gaps; acclimatize before tightening |
| Insufficient width | Underestimating vehicle paths | Edge repair + soil remediation ($1,000−$3,000) | Minimum 8 ft single lane, 12-16 ft two lane |
| Partial connection before traffic | Impatience or oversight | Full reinstall ($1,500-$4,000) | Connect every joint before opening to vehicles |
Maintenance During Use: Inspection Checklist
Installation is not the end of the job. Mats require inspection and maintenance during operations.
Daily Inspection
Check connection integrity at all joints. Look for mat displacement, cracking, or subsidence into soft spots. Verify that drainage paths around and beneath the mats remain clear. Standing water under mats reduces bearing capacity and accelerates subgrade failure.
Inspect after every heavy equipment pass when the road is new. Connections settle and may require reseating during the first few days of use.
Weekly Inspection
Check for UV damage if mats have been exposed to direct sunlight for extended periods. HDPE is UV-stabilized, but prolonged exposure to intense sun can cause surface crazing. Clean debris and sediment buildup from mat surfaces. Mud and gravel accumulation reduce traction and hide damage.
Post-Weather Event Inspection
After heavy rain or freeze-thaw cycles, check for shifted mats, washed-out subgrade beneath edges, and damaged connections. Re-anchor any mats that have migrated. Remove ice buildup before traffic resumes to prevent slip hazards.
Removal, Cleaning, and Storage
The way you remove and store mats determines how many more projects they will serve.
Removal Sequence
Remove mats in reverse installation order. Start from the soft end and work back toward the firm surface. This prevents the remaining mats from shifting as the load is removed. Photograph the subgrade condition before removing the last row. Documentation protects against liability claims for soil damage.
Cleaning Protocol
Remove mud and debris with a pressure washer or hose. Keep the pressure washer nozzle at least 12 inches from the mat surface.
High-pressure jets held too close can etch HDPE and create stress risers that lead to cracking. Remove petroleum residue, chemicals, and hydraulic fluid immediately. These can degrade HDPE over time.
Drying Before Storage
Wet mats stacked together trap moisture. Mold and mildew grow in the gaps. In freezing climates, trapped water expands and cracks the panels. Dry mats completely before stacking. Stand them on edge in sunlight for two to four hours, or use a blower for faster drying.
Storage Best Practices
Stack mats flat, never twisted or on edge without support. The maximum stack height is 20 to 25 mats. Taller stacks compress the bottom panels and cause warping.
Store in a cool, dry location away from direct UV exposure. A covered storage yard or warehouse is ideal.
Update your inventory log with mat count and condition assessment after each project. Damaged mats should be tagged for repair or retirement.
For container-optimized transport to your next project, a standard 40HQ container holds 400 to 500 HDPE mats when properly stacked.
Frequently Asked Questions About Ground Protection Mat Installation
Do ground protection mats need geotextile underneath?
Geotextile is required when the subgrade has a CBR below 3%, when the soil is saturated or wet, or when working on sensitive turf that must be preserved. On firm, dry, compacted gravel or clay with CBR above 5%, mats can be installed directly on the prepared surface. When in doubt, use geotextile. It costs far less than rework.
What direction should ground protection mats be laid?
Lay mats with the long edge in the direction of traffic travel. Start from the firmest surface and work toward softer ground. Pull mats forward into position rather than pushing them from behind. This aligns edges with load direction and minimizes uplift.
How much overlap do ground protection mats need?
Maintain a minimum 6-inch overlap at edges, corners, and width transitions. On sharp turns, increase overlap to 12 inches to handle lateral shear from turning equipment. Leave a 1/4-inch to 1/2-inch expansion gap between mat edges for thermal movement.
Can ground protection mats be installed on wet ground?
Yes, but only with a geotextile separation layer beneath the mats. Installing directly on wet or saturated soil causes mats to sink, connections to fail, and subgrade to contaminate the mat undersides. Geotextile stabilizes the base and prevents upward migration of mud.
How do you anchor ground protection mats on a slope?
On slopes over 10%, orient mats perpendicular to the slope direction. Anchor with steel stakes or rebar pins spaced every 4 feet along edges and at joint intersections. On soft ground where stakes pull out, use sandbags at corners and edges. Never install mats on slopes over 20% without engineering consultation.
Conclusion
Ground protection mat installation is not laying panels on the ground. It is a structured engineering process with measurable tolerances. Seven steps separate a four-hour success from a two-day rework: assess the subgrade, plan the layout, lay from firm ground, stagger joints by 48 inches, interlock every connection, anchor on slopes over 10%, and install edge ramps.
The five rules to remember: start from firm ground. Stagger every joint. Connect every seam before traffic. Leave expansion gaps for temperature change. And inspect daily during the first week of use.
At Shanxi Shengxing, we manufacture HDPE ground protection mats under ISO9001 quality systems with load testing to ASTM D4020 standards. We provide installation guidance, materials calculators, and container-optimized loading plans with every technical quote.
Need installation support for your project? Browse our HDPE ground protection mats for specifications by thickness, load rating, and connection type, or request a technical quote with your site dimensions and ground conditions. Our engineering team provides step-by-step installation guidance, materials lists, and export-optimized pricing for construction and infrastructure projects worldwide.