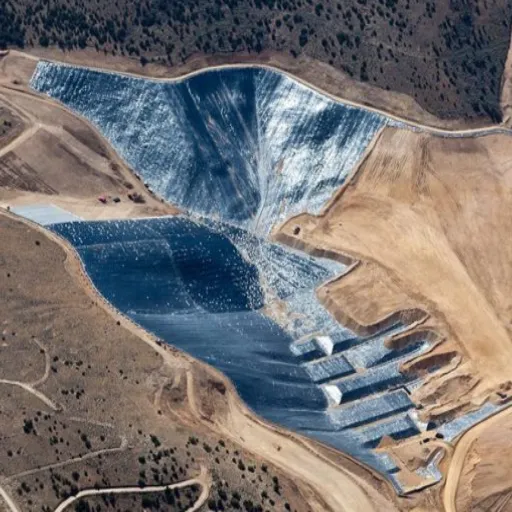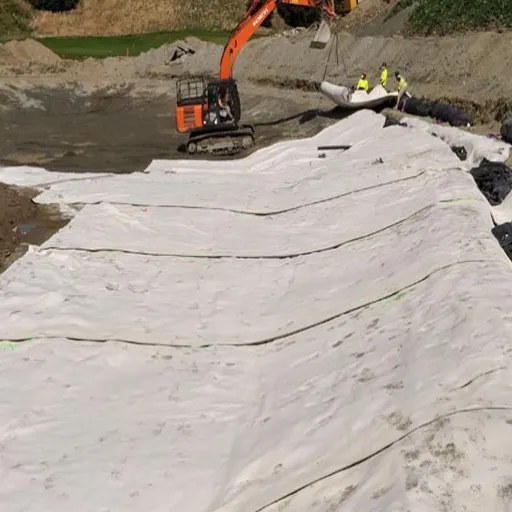
Temporary roadway mat installation follows seven main steps: site assessment, subgrade preparation, base layer installation, layout planning, panel placement, connection and edging, and then removal and storage. Two trained workers can install 150–250 ㎡ of HDPE roadway mats per day on firm ground, but that rate can drop by half on soft ground if the base is not prepared correctly.
A well-installed mat road protects the subgrade, distributes heavy wheel loads, and keeps traffic moving through wet weather. A poorly installed one shifts under braking, ruts after the first rain, and creates safety hazards for equipment operators. For a complete overview of mat types and applications before you start, see our complete temporary roadway mats guide.
Key Takeaways
- Temporary roadway mat installation starts with site assessment and subgrade preparation, not panel placement.
- Geotextile separation and a compacted aggregate base are essential on soft clay, sand, peat, or saturated soils.
- Stagger panel joints by at least half a panel length to prevent four-corner intersections and load transfer failures.
- Connection pins, tongue-and-groove edges, or overlap flanges keep panels from separating under braking and turning.
- Edge ramps, slope anchors, and drainage crowns are not optional details; they determine long-term performance.
- Proper removal, cleaning, and flat storage extend mat lifespan toward 10–15 years.
Temporary roadway mat installation requires site prep, staggered joints, connection systems, and edge ramps for safe heavy-equipment access.
What Is Temporary Roadway Mat Installation?
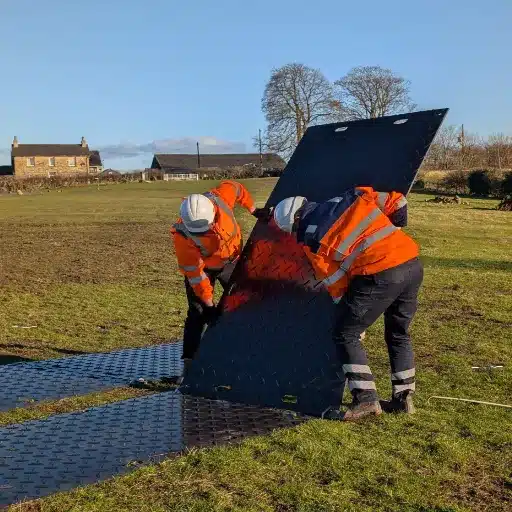
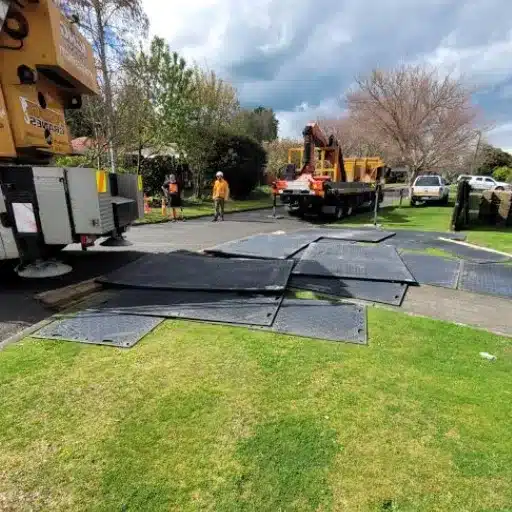
Temporary roadway mat installation involves preparing the site, placing ground protection panels in a stable pattern, connecting them to ensure continuous load transfer, and finishing with edge ramps and transition plates. The goal is to create a drivable surface that protects the underlying soil from rutting and compaction while supporting repeated traffic.
This is different from simply throwing down a few mats for a crane pad or work platform. A temporary roadway must handle braking, acceleration, and turning loads across many panel joints. It must also drain surface water and remain stable through wet-dry cycles. For general mat handling principles, see our ground protection mat installation guide.
For a 200-meter single-lane haul road using standard 4′ × 8′ HDPE panels, you will need roughly 170 panels. The same road with tongue-and-groove composite panels may require fewer, larger panels but will need a forklift or excavator grapple for placement.
Tools and Materials Needed for Temporary Roadway Mat Installation
Tools
- Lever bars or mat-moving tools for hand placement of HDPE panels
- Rubber mallets for seating connections
- Connection pins, cam locks, or alignment clips per manufacturer spec
- Measuring tape and string lines for layout
- Plate compactor or roller for subgrade and aggregate base
- Utility knife or scissors for geotextile cutting
- Forklift or excavator with mat grapple for composite or large panels
Materials
- Geotextile separation layer
- Crushed stone aggregate base (when required)
- Edge ramps and transition plates
- Anchoring pins for sloped ground
- Spray paint or stakes for marking the layout
Optional Equipment
- Plate compactor for tight areas
- Vibratory roller for long road runs
- Water truck for dust suppression and compaction moisture control
Pre-Installation: Site Assessment and Subgrade Preparation
Site Assessment
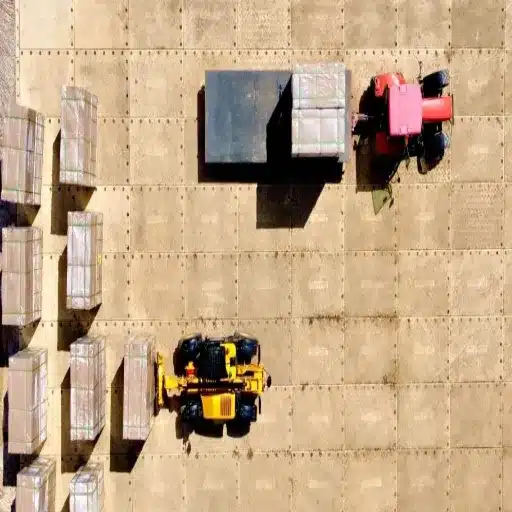
Start by walking the full route. Identify soft spots, drainage paths, underground utilities, and obstructions. Measure the required road width and mark turning zones, passing bays, and entry/exit points. For width and turning-radius decisions, see our temporary roadway design guide.
When Marcus, a project engineer in East Africa, planned a 300-meter trenching access road, he initially skipped the walkover. After the first heavy rain, his crew discovered a hidden drainage channel that had not appeared on the topographic map. They had to lift 80 panels, install a culvert, and re-lay the road, losing two days and a weekend rental on equipment. A 30-minute site walk would have revealed the issue.
Subgrade Preparation Decision Tree
| Ground Condition | Recommended Preparation |
|---|---|
| Firm, dry, compacted soil | Clear vegetation, level surface, install mats directly |
| Soft clay / wet soil | Geotextile + 100–200 mm compacted aggregate lift |
| Sandy soil | Geotextile to prevent mixing and migration |
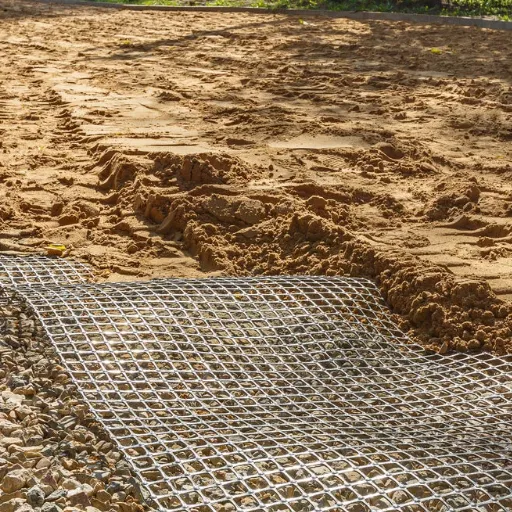
| Peat / organic soil | Geotextile + geogrid + thick aggregate lift or specialist floating system |
| Sloped ground | Anchor mats upslope; install drainage channels |
On soft or saturated soils, never place mats directly on mud. The panels will sink, rotate, and separate under load. A geotextile separation layer prevents the aggregate base from mixing with the native soil. For wetland and saturated conditions, see our guide to temporary access mats for soft ground.
Drainage
Crown the road center or provide a cross-fall so water runs off the surface. Avoid low points where water can pond. If the road crosses a drainage line, install a culvert or a bridged crossing before laying mats.
Step-by-Step Temporary Roadway Mat Installation
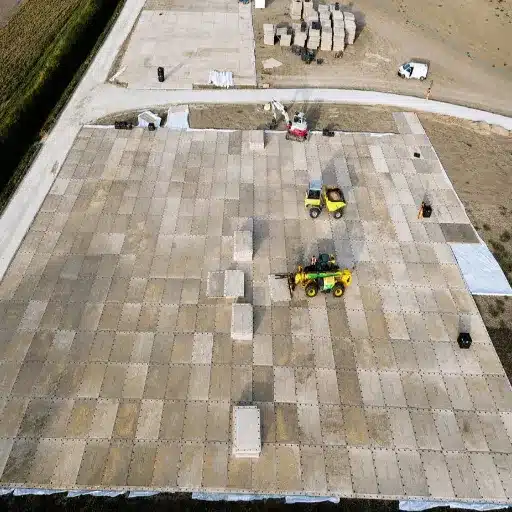
Temporary roadway mat installation follows 12 main steps, from site assessment and geotextile placement to removal and storage.
- Clear and grade the route. Remove vegetation, topsoil, and debris. Compact the subgrade to a firm, even surface.
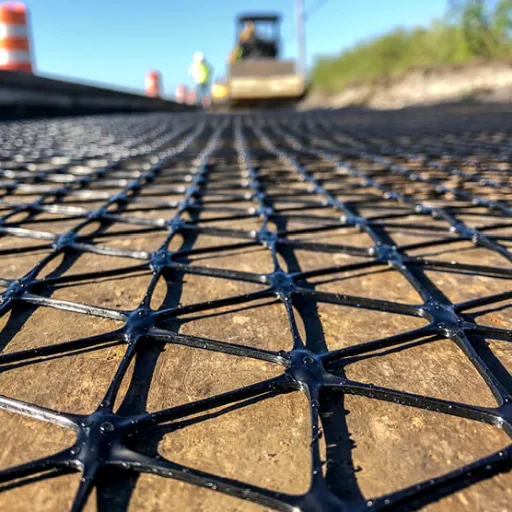
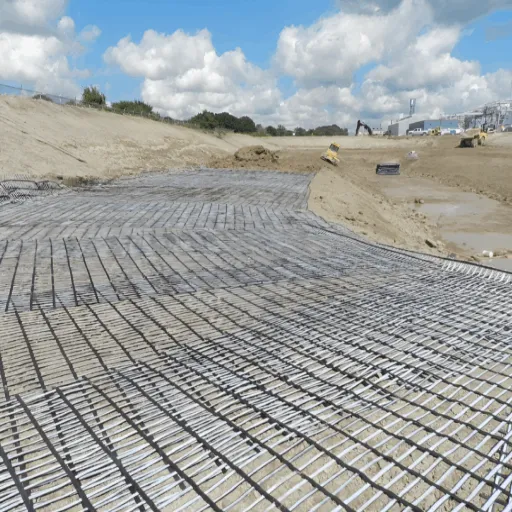
- Install geotextile separation layer. Roll out geotextile along the road alignment with at least 300 mm overlaps at seams.
- Add aggregate base if required. Spread and compact 100–200 mm of crushed stone over soft or uneven ground.
- Mark panel layout. Use string lines or paint to establish road edges, lane width, and joint locations.
- Place the first row. Start at the entry point and lay panels in a running bond or staggered pattern.
- Stagger joints. Offset end joints by at least half a panel length to avoid four-corner intersections.
- Connect panels. Use manufacturer-compatible pins, cam locks, or tongue-and-groove edges.
- Install edge ramps. Place ramps at all exposed edges and transition zones.
- Anchor on slopes. Drive anchors through pre-drilled holes where grade exceeds 5%.
- Inspect and test. Walk the road, check for rocking panels, and run a light vehicle before heavy traffic.
- Maintain during use. Re-tension connections, add ballast at edges, and clear drainage paths as needed.
- Remove and store. Lift panels from the far end, clean, inspect, and stack flat for reuse.
The global ground protection mats market is projected to grow from USD 1.45 billion in 2025 to USD 2.75 billion by 2034, driven partly by infrastructure and renewable energy projects that rely on temporary access roads. FNF Research
Layout Patterns for Continuous Temporary Roadways
Running Bond Pattern
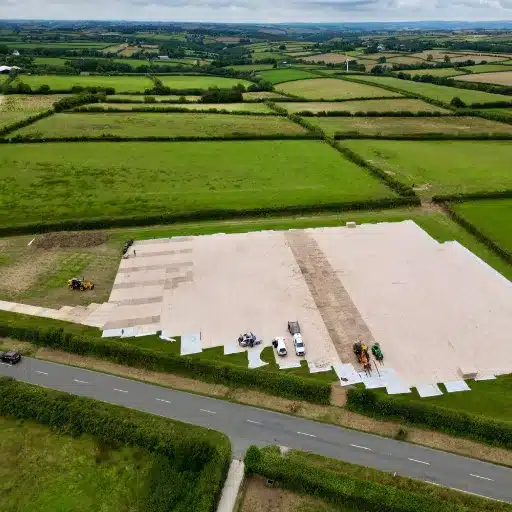
The running bond is the most common layout for haul roads. Each row is offset by half a panel length from the row before it. This pattern distributes wheel loads across multiple panels and prevents the four-corner intersections that cause rocking and joint separation.
Stack Bond Pattern
In a stack bond, all joints align in straight lines. It is faster to install but weaker under braking and turning loads. It is generally avoided for heavy haul roads but may be acceptable for short, low-speed service roads.
Passing Bay and Widening Layouts
Widen the road at intervals for vehicle passing or turnaround areas. Use half panels or factory-cut panels to maintain staggered joints in the widened sections.
Connection Systems and Edge Details
Pin Connections
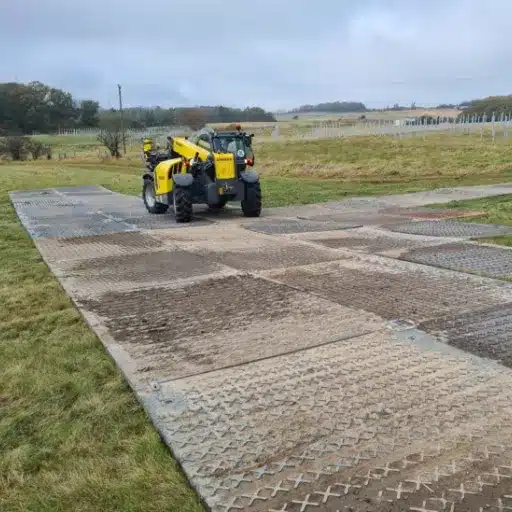
Metal or composite pins pass through pre-drilled holes at panel corners. Pins provide strong joint lock but add installation time. They are the best choice for heavy equipment, slopes, and long-term roads.
Tongue-and-Groove
Self-aligning edges speed installation and create a smooth joint. Tongue-and-groove systems work well for moderate loads and are common on HDPE mats.
Overlap Flanges
Overlap flanges are common on molded HDPE mats. They are simple to install but can gap under braking if not seated properly. Check overlaps daily during the first week of traffic.
Edge Ramps and Transitions
Edge ramps reduce trip hazards and prevent equipment damage at road entry and exit points. Secure ramps with pins or anchors so they do not migrate under traffic. For a deeper look at connection engineering, see our guide to interlocking temporary roadway mats.
Need project-specific installation guidance? Shanxi Shengxing engineering support can review your road layout, ground conditions, and equipment loads. Request a technical quote.
Installing Temporary Roadway Mats on Slopes and Soft Ground
Slope Installation
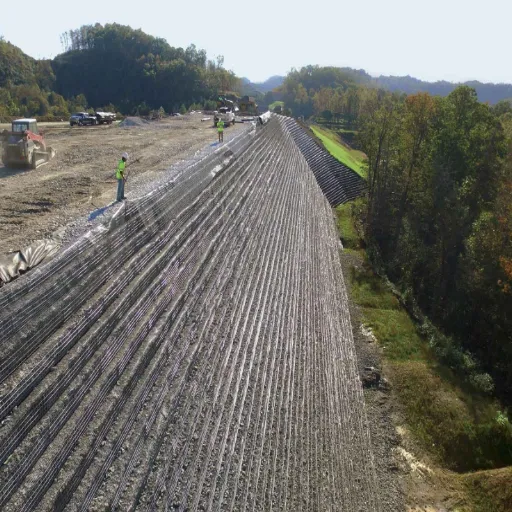
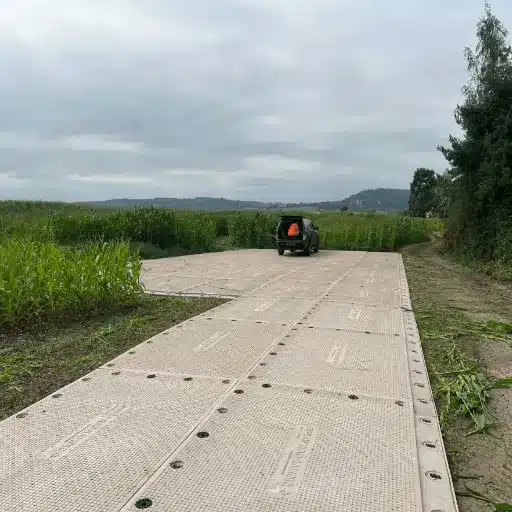
Install from the bottom of the slope upward so each panel rests against the one below it. Anchor every 2–3 rows on grades over 5%. Provide drainage channels alongside the road to prevent water from flowing down the mat surface and undermining the edges.
Soft Ground Adaptations
Installing mats on soft ground requires more than a geotextile layer. On soft clay or peat, geotextile alone is often not enough. Add a geogrid reinforcement layer and a thick aggregate lift before placing mats. For more guidance on installing mats on soft ground, see our temporary access mats for soft ground guide.
For thickness selection on soft ground, see our temporary roadway mat thickness guide. For equipment-specific load guidance, see our temporary roadway mats for heavy equipment guide.
A European wind farm contractor working on peat bog access learned this sequence the hard way. The first attempt placed 20 mm HDPE directly on geotextile over peat. After three days of 90-ton crawler crane traffic, the panels showed excessive deflection, and the road had to be lifted. The second attempt added a geogrid layer and 200 mm of crushed stone. The same 20 mm HDPE panels then performed without visible deflection for the remaining eight weeks of the project.
Removal, Cleaning, and Storage
Removal Procedure
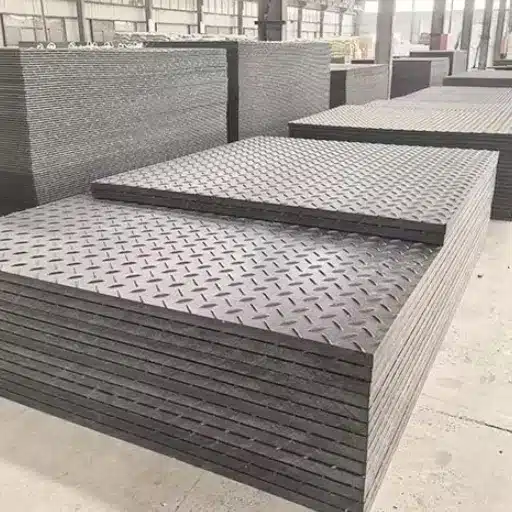
Remove edge ramps first. Disconnect pins or locks. Lift panels from the terminal end toward the start point to avoid dragging them across the geotextile. Stack panels as you go rather than leaving them loose on the ground.
Cleaning
Pressure wash mud and debris from both sides. Inspect for cracks, connection damage, and excessive wear. Record damaged panels so they can be repaired or replaced before the next project.
Storage
Stack flat on level ground or pallets. Keep stacks under cover when possible. UV-stable HDPE can tolerate outdoor storage, but lifespan improves when mats are stored under cover. Quality HDPE mats can last 10–15 years with proper installation, removal, and storage.
Installation Time, Labor, and Cost Estimates
Productivity Rates
| Task | Rate (per crew of 2) |
|---|---|
| Site clearing and grading | 200–400 m/day |
| Geotextile placement | 400–600 ㎡/day |
| HDPE panel installation (firm ground) | 150–250 ㎡/day |
| HDPE panel installation (prepared soft ground) | 80–150 ㎡/day |
| Composite panel installation | 100–200 ㎡/day |
Cost Factors
- Subgrade preparation: $3–$8/㎡
- Geotextile and aggregate: $5–$15/㎡
- Labor for installation: $2–$6/㎡
- Removal and cleaning: $1–$4/㎡
Installation Quality Checklist
- Subgrade is firm, level, and free of debris
- Geotextile seams overlap at least 300 mm
- Aggregate base is compacted (if used)
- Panel joints are staggered at least half a panel length
- Connections are installed per the manufacturer’s specification
- Edge ramps are secured at all exposed edges
- Anchors are in place on slopes over 5%
- The road surface is level with no visible rocking panels
- Drainage path is clear and crowned or cross-falled
- The removal and storage plan is documented
Frequently Asked Questions
What do you put under temporary roadway mats?
On firm, compacted ground, you can install mats directly after clearing vegetation. On soft clay, wet soil, or sand, use a geotextile separation layer and often a 100–200 mm compacted aggregate lift. Peat and organic soils may also need geogrid reinforcement.
Do you need geotextile under temporary roadway mats?
Geotextile is recommended whenever the native soil is soft, wet, sandy, or prone to mixing with the base layer. It separates the aggregate from the soil, maintains drainage, and prevents the mats from sinking or shifting.
How do you keep temporary roadway mats from shifting?
Use a staggered joint pattern, connect panels with pins or tongue-and-groove edges, install edge ramps, and anchor the road on slopes. On soft ground, add geotextile and aggregate to create a stable base.
How long does it take to install temporary roadway mats?
Two trained workers can install 150–250 ㎡ of HDPE mats per day on firm ground. On soft ground requiring geotextile and aggregate, productivity typically drops to 80–150 ㎡ per day.
Can you install temporary roadway mats on grass?
Yes, but the grass and topsoil should be removed first. Installing mats directly on grass leaves a soft, uneven base that can rot, create voids, and allow panels to shift.
How do you connect temporary roadway mats together?
Panels connect with pins through pre-drilled holes, tongue-and-groove edges, or overlap flanges. The right method depends on the mat design, load, and whether the road is on flat or sloped ground.
Do temporary roadway mats need edge ramps?
Yes. Edge ramps protect the exposed panel edges, reduce trip hazards, and prevent equipment damage at road entry and exit points. They should be pinned or anchored so they do not move under traffic.
How do you remove and store temporary roadway mats?
Remove ramps and disconnect panels first. Lift from the terminal end, clean with a pressure washer, inspect for damage, and stack flat under cover when possible. Proper storage extends mat lifespan toward 10–15 years.
Conclusion
Temporary roadway mat installation is not just about placing panels on the ground. The subgrade preparation, joint pattern, connection system, edge ramps, and drainage details determine whether the road performs for weeks or fails after the first rain.
Start with a thorough site assessment. Prepare the base with geotextile and aggregate where soil is soft. Lay panels in a running bond with staggered joints. Connect them properly, install edge ramps, and anchor on slopes. Maintain the road during use, and remove and store mats cleanly for the next project.
For project-specific installation guidance, contact Shanxi Shengxing engineering support. We provide layout recommendations, subgrade specifications, and volume quotes for global delivery.
Request a technical quote or browse our HDPE temporary roadway mats catalog to get started.