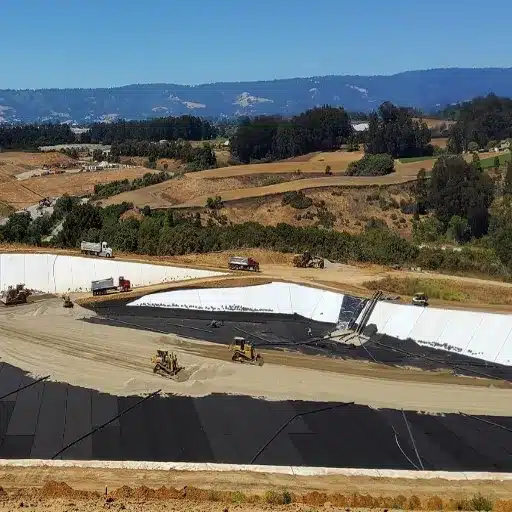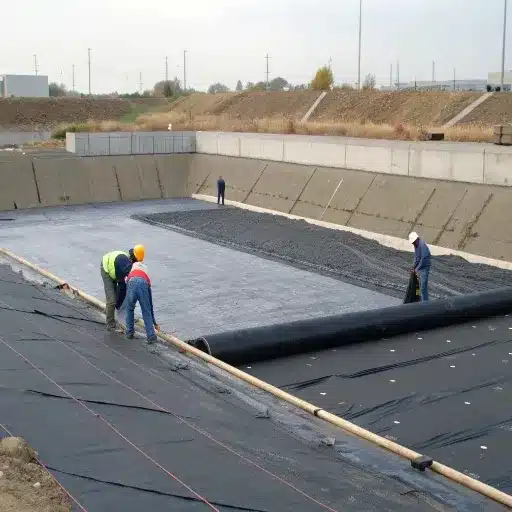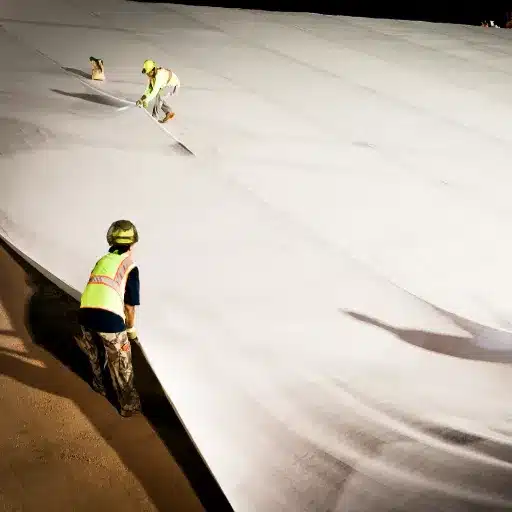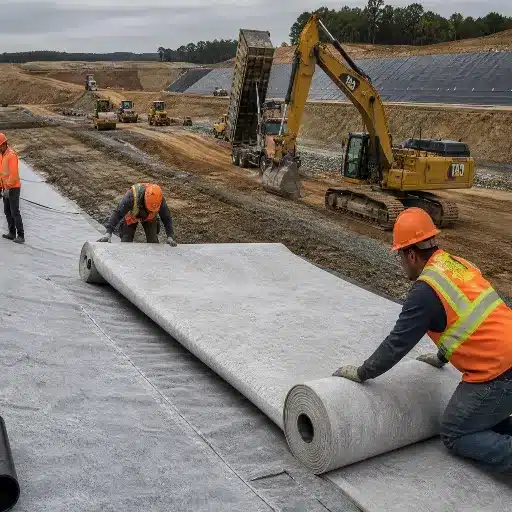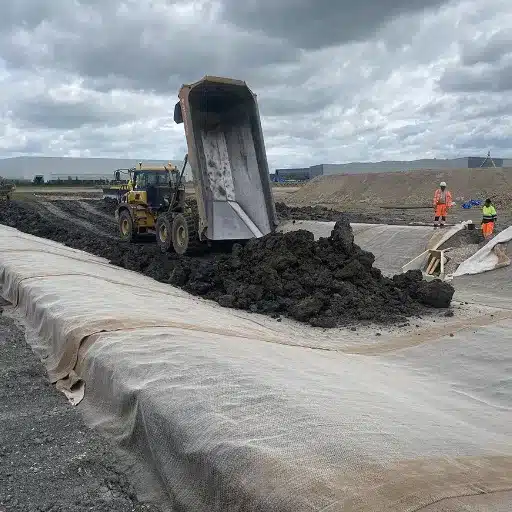
Geomembrane installation is the process of preparing a subgrade, deploying synthetic liner panels, welding seams, testing integrity, and anchoring edges to create a long-term impermeable barrier. When done correctly, it prevents seepage in landfills, ponds, mining containment, and wastewater systems. When done poorly, it becomes one of the most expensive mistakes a project can face.
In 2019, a Chilean copper mine discovered that lesson the hard way. After 18 months of operation, a 1.5 mm HDPE geomembrane liner showed hundreds of punctures across the heap leach pad.
The root cause was not the liner material. The installation team had skipped the geotextile cushion layer, and angular ore had gradually punctured the membrane. The repair bill exceeded €12 million, not counting lost production. Most geomembrane failures follow a similar pattern: the material performs, but the installation does not.
This guide walks through each phase of geomembrane installation with practical thresholds, quality checkpoints, and decision points for engineering teams and procurement buyers. You will learn how to prepare the subgrade, select the right welding method, test seams to specification, and avoid the mistakes that turn a containment system into a liability.
Key Takeaways
- Most geomembrane failures are installation-related, not material defects; proper subgrade preparation and seam QA prevent the majority of leaks.
- HDPE, LLDPE, and PVC geomembranes each require different handling, welding, and anchoring approaches based on flexibility and site conditions.
- Three seam tests dominate quality control: visual inspection, non-destructive testing (air pressure, vacuum box, or spark), and destructive sampling per ASTM D6392.
- The global geomembrane market reached USD 2.82 billion in 2025, and installation quality is becoming a bigger differentiator than price alone.
- Working with a supplier that provides technical consultation and export-ready logistics helps international project teams avoid common specification and handling errors.
What Is Geomembrane Installation?
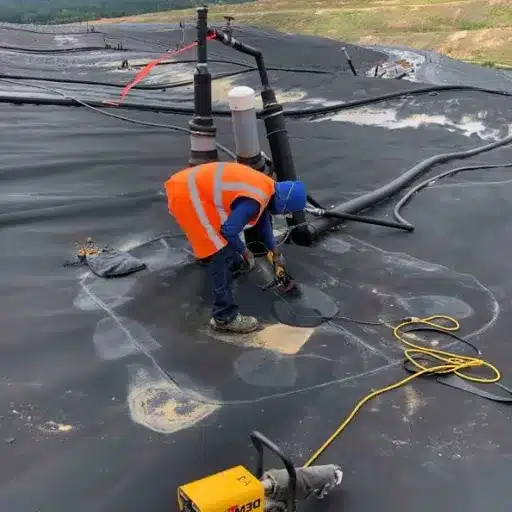
A geomembrane is an impermeable synthetic liner that blocks liquid and gas migration. A geomembrane installation turns rolls of that material into a functioning containment system. The work includes surface preparation, panel layout, seaming, testing, anchoring, and final protection.
The goal is simple: create a continuous, defect-free barrier that performs for decades. The challenge is that every seam, fold, and penetration is a potential leak path. For this reason, installation is often treated as a specialized trade. The International Association of Geosynthetic Installers (IAGI) certifies crews precisely because small errors have outsized consequences.
In real projects, geomembrane installation appears in:
- Landfill base liners and caps
- Mining heap leach pads and tailings dams
- Wastewater treatment lagoons
- Reservoirs, canals, and irrigation ponds
- Aquaculture and decorative ponds
- Secondary containment for fuel and chemicals
Each application has its own subgrade, slope, chemical exposure, and regulatory demands. However, the installation workflow remains similar. Understanding the standard sequence gives project managers a framework to evaluate bids, supervise work, and hold crews accountable.
If you are new to geomembranes, our complete guide to geomembrane products explains material types and selection before installation begins.
Pre-Installation Planning and Material Selection
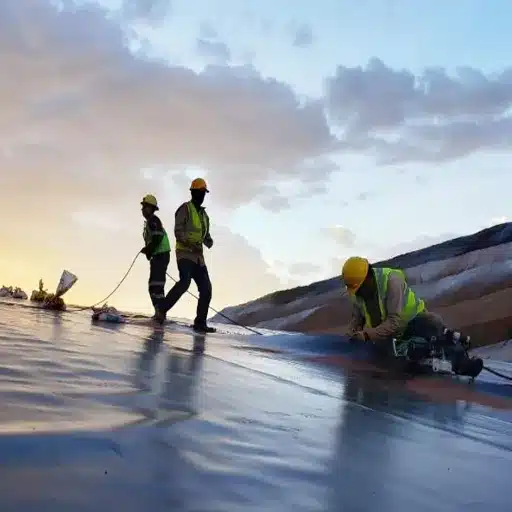
Installation success begins before the first roll reaches the site. Planning covers material choice, specification review, logistics, and crew qualifications.
Choosing the Right Geomembrane Material
Three polymers dominate the market:
- HDPE (High-Density Polyethylene): Stiff, chemically resistant, and durable. HDPE is the default for landfills, mining, and large containment because of its long service life. It requires careful handling because it has lower elongation than other materials.
- LLDPE (Linear Low-Density Polyethylene): More flexible and forgiving on uneven subgrades. LLDPE performs better in cold climates and conforms more easily to irregular shapes.
- PVC (Polyvinyl Chloride): Highly flexible and often used in tanks, decorative ponds, and detailed work. PVC can be thermal welded or solvent bonded, but it requires UV stabilization for exposed applications.
Material selection affects every later step. A stiffer HDPE sheet needs wider panels, heavier equipment, and more attention to thermal expansion. A flexible LLDPE liner can adapt to rougher subgrades but may need more ballasting in wind.
For projects that need both stiffness and flexibility, our HDPE geomembrane liners and LLDPE geomembrane options can be specified to match the application.
Reviewing Project Specifications and Standards
Before installation, the crew should review the project specification, drawings, and referenced standards. Common references include:
- ASTM D6392: Standard test method for non-reinforced HDPE geomembrane seams.
- ASTM D4437: Standard practice for non-destructive testing of geomembrane seams.
- GRI GM13: HDPE geomembrane specification used widely in North America.
- IAGI installation guidelines: Field best practices for handling and seaming.
The specification should define acceptable seam strength, testing frequency, repair procedures, and documentation requirements. Gaps in the specification often become disputes in the field.
Coordinating Rolls, Delivery, and On-Site Storage
Rolls should arrive with certified mill test reports and labels matching the specification. On-site storage matters more than many teams realize.
Direct sunlight raises roll temperature and can accelerate surface oxidation. Standing water can contaminate panel edges before welding. Ideally, rolls are stored off the ground, out of direct sun, and protected from wind.
For international projects, coordination with the supplier on roll dimensions, container loading, and customs documentation prevents delays. Shanxi Shengxing supplies HDPE geomembrane rolls in common widths of 4–8 m and lengths of 50–200 m, with custom dimensions available for large projects. For help choosing the right geomembrane thickness for your application, see our engineering guide.
Installer Qualifications and Crew Planning
Certified installers reduce failure risk. The crew should include a lead installer with documented geomembrane experience, qualified welding equipment operators, and a quality control technician. Project managers should request references and review recent jobs of similar scale and material type.
Subgrade Preparation: The Foundation of a Successful Installation
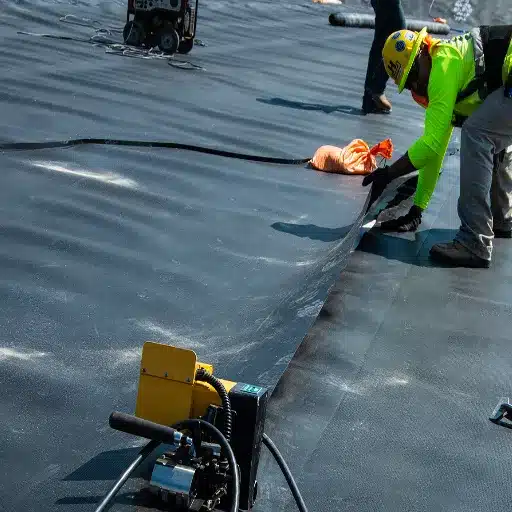
Subgrade preparation is the single most important phase of geomembrane installation. A liner can only be as good as the surface beneath it.
Clearing, Grading, and Compaction
The subgrade must be smooth, stable, and free of debris. Typical requirements include:
- Remove rocks, roots, construction waste, and sharp objects.
- Grade surfaces to design slopes and elevations.
- Compact soil to the specified density, commonly 90–95% of maximum Proctor density.
- Avoid organic soils, frozen ground, and loose fill in the liner zone.
The U.S. Bureau of Reclamation recommends that geomembrane subgrades be free of particles larger than 12 mm and that slopes be gradual enough to prevent liner tension. Steeper slopes increase the risk of liner slip and make anchoring more critical.
Surface Tolerance and Protrusion Limits
Even small protrusions can puncture a liner under load. The surface should be scanned and repaired before any panel is deployed. Common acceptance criteria include no protrusions greater than 6 mm above the surrounding surface and no abrupt changes in grade.
For sites with difficult soils, a 150–300 mm layer of screened sand or fine gravel can provide a uniform bedding surface. This layer must itself be compacted and smoothed before liner placement.
Installing Geotextile Cushion and Protection Layers
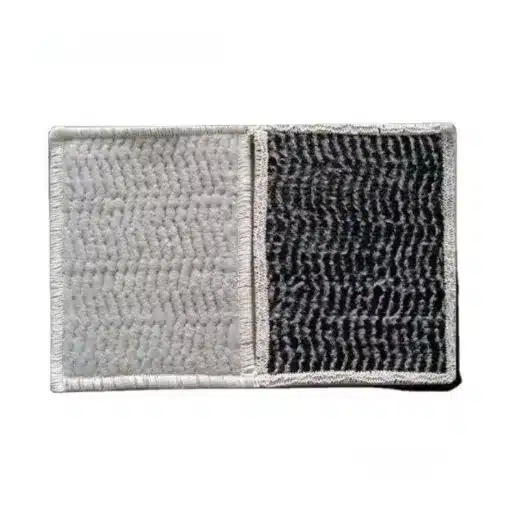
A cushioning geotextile is not optional on most sites. It absorbs point loads, prevents puncture from angular aggregate, and protects the liner during cover placement. Typical specifications call for:
- 300 g/m² nonwoven geotextile for smooth, well-graded subgrades.
- 500 g/m² for general conditions with minor angular particles.
- 800 g/m² or more for sharp, rocky, or high-load subgrades.
The Chilean mine failure mentioned earlier would likely have been avoided with a properly specified cushion layer. The cost of a protection geotextile is a small fraction of the cost of draining a pond or replacing a landfill liner.
Our nonwoven geotextile products are commonly used beneath geomembranes to provide puncture protection and separation.
Drainage and Slope Considerations
The subgrade should shed water away from the liner zone. Ponded water can create soft spots, wick under the liner, and complicate welding. Slope design also affects liner stress. A common rule is to keep side slopes no steeper than 3H:1V unless a textured geomembrane and specialized anchoring are used.
Geomembrane Deployment Best Practices
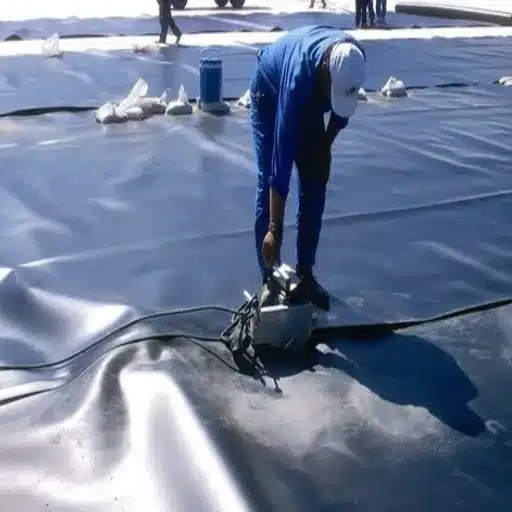
Once the subgrade is accepted, panels are unrolled and positioned. This phase requires patience and weather awareness.
Unrolling Panels and Layout Planning
Panels are laid out to minimize seams and align with the project geometry. Wide rolls reduce seam length but require larger equipment and more crew coordination. The layout plan should account for:
- Panel sequencing to avoid trapping crews against completed work.
- Overlap direction so upper panels shingle over lower panels on slopes.
- Penetrations, structures, and pipe boots that need field fabrication.
- Thermal expansion; panels expand in heat and contract in cold.
Overlap Requirements and Thermal Relaxation
Seam overlaps typically range from 75 mm to 150 mm depending on the welding method and specification. The panels should be allowed to relax before welding.
Pulling a liner tight to remove wrinkles may feel efficient, but it creates the “trampolining” effect. When temperatures rise, the restrained liner bulges. When temperatures fall, it pulls at anchors and seams.
A crew in Arizona learned this during a reservoir project. They installed a 1.0 mm HDPE liner on a hot afternoon with minimal slack. By night, cooling temperatures caused the liner to contract and pull out of the anchor trench along the crest. The repair required re-anchoring 200 m of perimeter and delayed the project by four days.
Ballasting and Wind Management
Geomembrane panels act like sails in wind. Unsecured panels can lift, fold, and crease. Crews use sandbags, water tubes, or temporary ballast to hold panels in place. Work should stop when wind speeds exceed the project threshold, commonly 20–30 mph.
Traffic Control and Damage Prevention
No equipment or foot traffic should cross an unprotected liner. When access is unavoidable, use clean rubber-tired vehicles, approved track pads, or a temporary soil cover. Even small gravel embedded in boot soles can scratch or puncture the membrane.
Geomembrane Welding and Seaming Methods
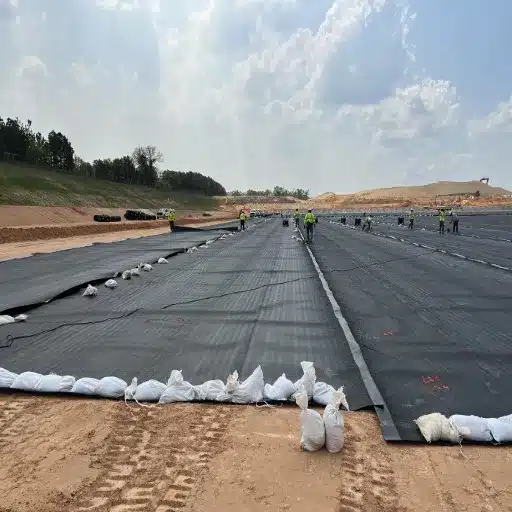
Seaming is where installation skill matters most. The two dominant methods are hot-wedge fusion welding and extrusion welding.
Hot-Wedge (Fusion) Welding for Production Seams
A hot-wedge welder presses two overlapping panels between heated jaws and pulls them through at a controlled speed. The result is a double-track seam with an air channel between the two welds. This method is fast, consistent, and preferred for long production seams in HDPE and LLDPE.
Key parameters include:
- Temperature: typically 200–450°C depending on material and thickness.
- Speed: adjusted so the seam shows full fusion without burning.
- Pressure: enough to squeeze molten polymer together without thinning.
Each morning and after any equipment adjustment, the crew must run trial welds. Trial welds are destructively tested before production welding begins.
Extrusion Welding for Repairs, Details, and Penetrations
Extrusion welding uses a handheld gun to melt a rod of the same polymer into the seam gap. It is slower than hot-wedge welding but essential for:
- Repair patches
- Pipe penetrations and boots
- Short seams in tight spaces
- Tie-in welds between panels
The extrudate must match the liner material exactly. Mixing HDPE and LLDPE in a weld creates a weak, incompatible joint.
Welding Parameters: Temperature, Speed, and Pressure
There is no universal setting. Optimal parameters depend on ambient temperature, material thickness, wind, and equipment condition. A qualified crew records parameters in a weld log and adjusts them as conditions change.
A daily calibration check with a pyrometer is good practice. One landfill project found that a welder’s temperature sensor had drifted 40°C low. The result was cold welds across 20% of the seams, requiring extensive cutting and re-welding.
Environmental Limits for Welding
Welding should not occur in rain, snow, or high wind. Moisture contaminates the weld zone and prevents proper fusion. Cold temperatures stiffen the material and may require pre-heating. Most specifications set minimum ambient temperatures between 0°C and 5°C for HDPE welding.
Seam Testing and Quality Control
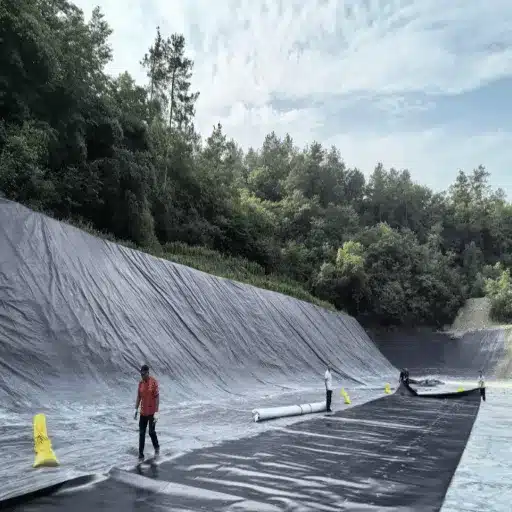
Testing is the proof that installation was done correctly. No project should rely on visual inspection alone.
Visual Inspection and Trial Welds
Every seam is visually checked for signs of burn, contamination, gaps, or incomplete fusion. Trial welds are cut and peeled to verify peel strength and failure mode. A good seam fails by elongation or tearing of the parent material, not by separation at the weld interface.
Non-Destructive Testing: Air Pressure, Vacuum Box, and Spark
Three methods dominate field testing:
- Air-channel testing: Used with double-track hot-wedge seams. The channel is pressurized and monitored for pressure drop. A rapid drop indicates a leak in the weld.
- Vacuum box testing: A transparent box with a vacuum port is placed over a seam. If bubbles form under the box, the seam leaks. This method works for single-track welds and repairs.
- Spark testing: A high-voltage brush is passed over the seam. A spark jumps through any pinhole or gap. Spark testing is fast but requires conductive backing or a grounding medium.
The specification should define test frequency, acceptance criteria, and repair procedures for failed seams.
Destructive Testing per ASTM D6392
Destructive seam samples are cut from production seams and tested in a lab for peel strength and shear strength. ASTM D6392 provides the standard test method for non-reinforced HDPE geomembrane seams. Samples are typically taken at a frequency of one per 500–1,500 m of seam, depending on project requirements.
Electrical Leak Location Surveys
For critical containment systems, an electrical leak location (ELL) survey can detect breaches after liner installation but before cover placement. The method applies an electrical potential across the liner and locates current flow through holes or seams. Studies have shown that ELL surveys find problems at a fraction of the cost of conventional CQA methods.
Anchoring, Terminations, and Protection
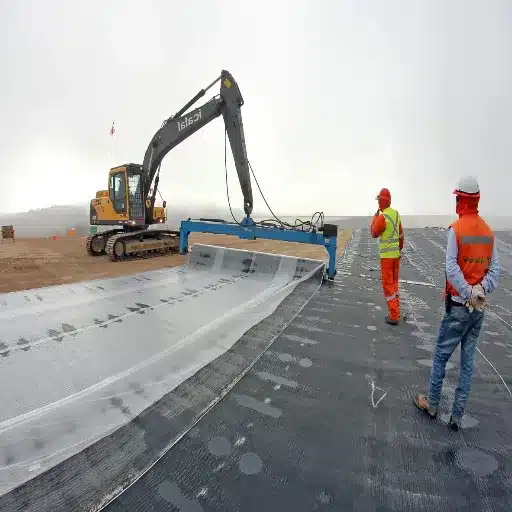
A liner that is not anchored will move. Termination design depends on slope, load, and exposure.
Anchor Trench Design and Backfill
The most common termination is an anchor trench along the perimeter. A typical trench is 300–600 mm deep and 300–600 mm wide, with the liner folded into the trench and backfilled with compacted soil or concrete. The trench should be located far enough from the crest to avoid slope failure and liner pullout.
Concrete and Mechanical Terminations
In concrete structures, tanks, or areas with high loads, the liner may be embedded in a concrete curb, clamped into an anchor strip, or bolted with a termination bar. Mechanical fasteners must be compatible with the liner material and sealed to prevent leakage.
Cover Soil and Protection Layer Placement
After testing is complete, the liner is covered to protect it from UV, traffic, and physical damage. Cover soil should be free of sharp rocks and debris. Placement should begin at the bottom and work upward so equipment does not drag cover material across the liner. A final protection geotextile is sometimes placed directly over the liner before the soil cover.
Common Geomembrane Installation Mistakes and How to Avoid Them
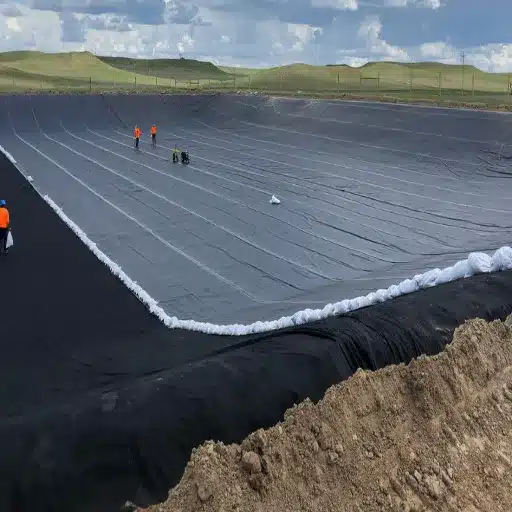
Even experienced crews make errors. Recognizing them early prevents costly repairs.
Poor Subgrade Preparation
Rough, wet, or debris-filled subgrades are the leading cause of puncture. The fix is simple: inspect, repair, and re-inspect before liner deployment.
Welding Over Contamination or Moisture
Dust, mud, or moisture on the seam edge prevents fusion. Crews should clean panels with dry cloths immediately before welding. Welding in rain is never acceptable.
Excessive Tension and the Trampolining Effect
Installing a liner drum-tight leads to tension cracks, anchor pullout, and seam failure. Panels should be placed with controlled slack to accommodate thermal movement.
Inadequate Seam Testing
Skipping non-destructive testing or reducing destructive sample frequency saves a small amount of money upfront. It can cost orders of magnitude more in remediation, regulatory fines, and project delays.
Premature Cover Placement
Placing cover soil before testing is complete buries defects and makes repairs difficult. Always complete and document testing before backfilling.
Post-Installation Inspection and Maintenance
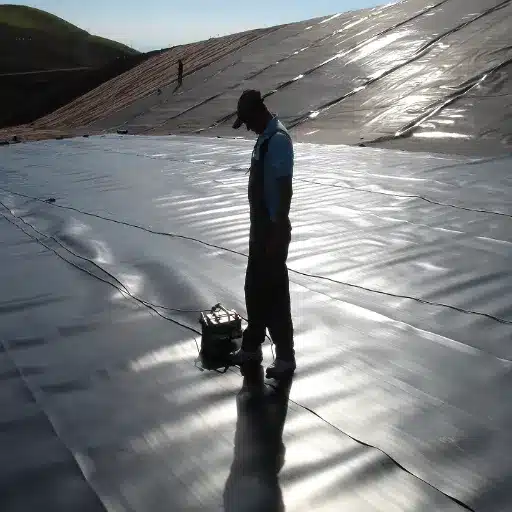
A geomembrane is not finished when the cover soil is placed. Long-term performance depends on inspection and maintenance.
Final Visual Inspection and As-Built Documentation
The as-built package should include panel layout drawings, weld logs, test reports, repair records, and photographs. This documentation is essential for warranty claims, regulatory audits, and future repairs.
Seasonal Inspection Checklist
Inspect the containment system at least annually and after extreme weather events. Look for:
- Settlement or erosion around anchor trenches
- Ponding or unexpected flow patterns
- Vegetation intrusion or animal damage
- Exposed liner areas due to cover soil loss
Repair Protocols for Punctures and Seam Defects
Small punctures are repaired with a patch of the same material, welded at least 50 mm beyond the damaged area in all directions. Seam defects require cutting out the failed section and re-welding. All repairs must be tested.
Working with a Global Geomembrane Supplier
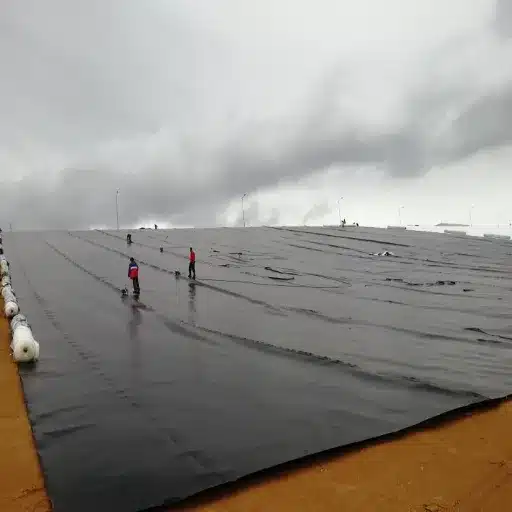
For international project teams, supplier selection affects both material quality and installation success. A supplier that provides only product leaves the buyer to solve specification and logistics problems alone.
What to Specify When Ordering
Clear specifications reduce disputes. At minimum, define:
- Material type and thickness
- Roll dimensions and quantity
- Test standards and certification requirements
- Packaging and labeling for export
- Delivery schedule and incoterms
Technical Consultation and Application Support
Suppliers with engineering support can review subgrade conditions, recommend cushion geotextiles, and advise on welding parameters for local climate conditions. This guidance is especially valuable for buyers in regions with limited local geomembrane installation experience.
Export Packaging, Roll Dimensions, and Logistics
Large geomembrane rolls require careful loading and handling. Damaged edges from improper forklift handling can ruin entire panels. Export-ready suppliers provide reinforced packaging, lifting instructions, and shipping documentation.
Shanxi Shengxing supplies geomembrane liners, geotextiles, and related geosynthetics to projects worldwide. Our engineering team provides technical consultation, product selection guidance, and export logistics support for civil and environmental containment applications. If your project needs a reliable geomembrane installation material package, contact our engineering team for a tailored quote.
Conclusion
Geomembrane installation is a sequence of interdependent steps. Subgrade preparation protects the liner from below. Deployment and welding create the barrier. Testing proves the barrier works.
Anchoring and cover placement protect it for the long term. Weakness in any one phase can compromise the entire system.
The most important takeaway is that installation quality matters more than material price. A lower-cost liner installed correctly will outperform a premium liner installed poorly. Engineering teams and procurement buyers should evaluate installers on qualifications, testing discipline, and documentation, not just daily rates.
For your next containment project, start with a clear specification, choose the right material for the application, and partner with a supplier that understands both the product and the installation context. The result will be a containment system that performs as designed for decades.
Ready to spec your geomembrane liner package? Request a technical quote from Shanxi Shengxing and get engineering support tailored to your project.