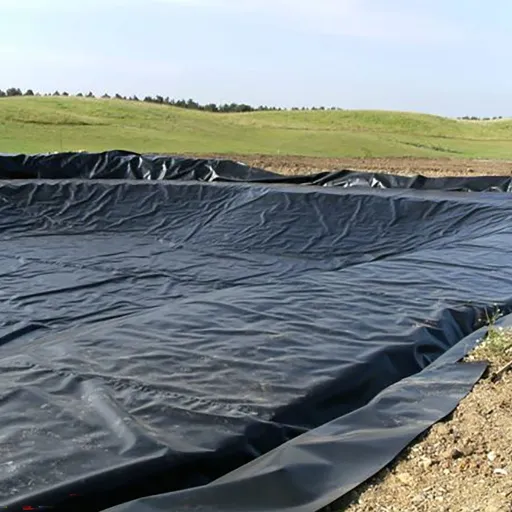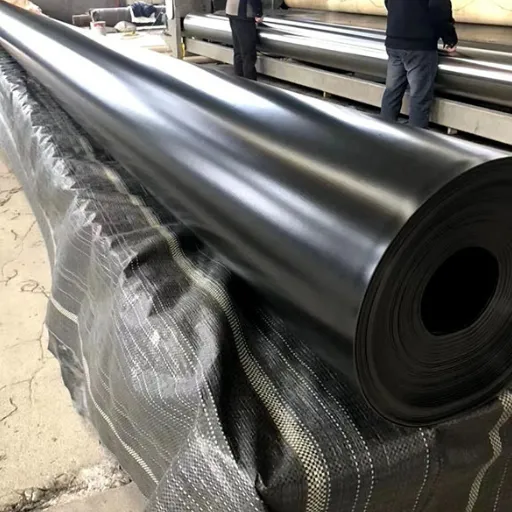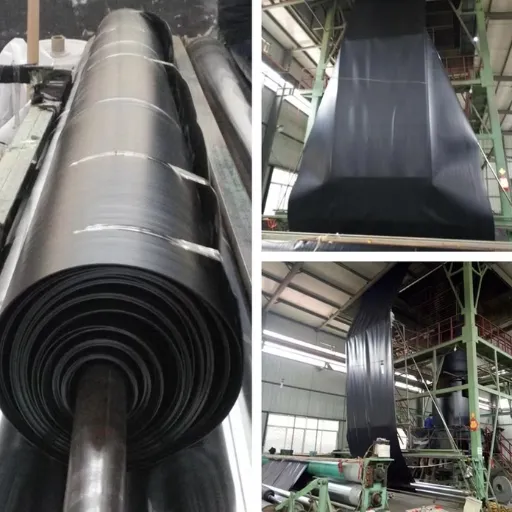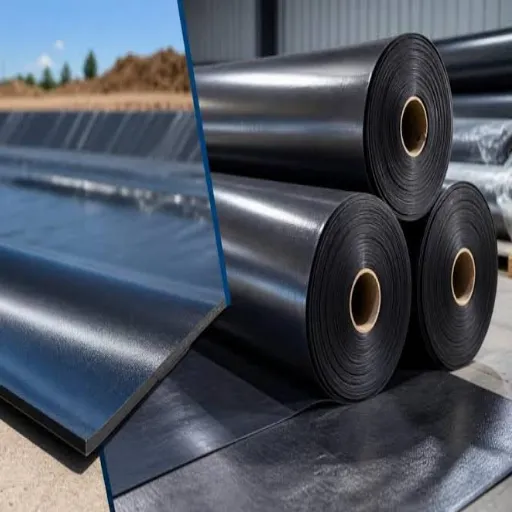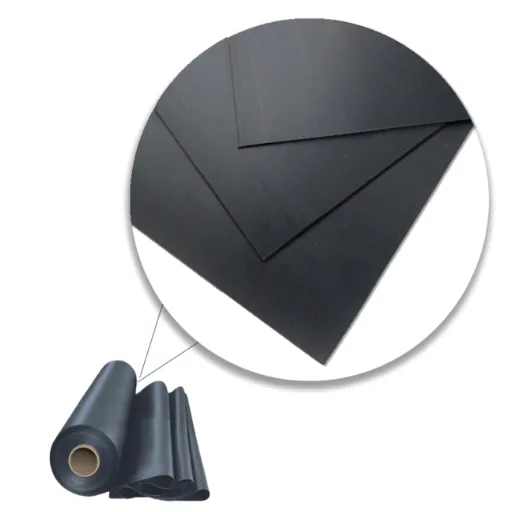
LLDPE geomembrane installation follows the same sequence as an HDPE job: prepare the subgrade, deploy the panels, weld with a hot wedge or an extrusion fillet, then test every seam. Four things change with linear low-density polyethylene (LLDPE): the welder setting, the slack in the sheet, the acceptance table the inspector applies, and the attention the subgrade needs.
Call the foreman Daniel. He had welded high-density polyethylene (HDPE) for nine years and knew his machine settings by heart. On his first LLDPE reservoir job he used them unchanged. The seams looked clean and the air channel held pressure. Then the peel test opened at the weld interface on three of five coupons, and his crew spent two days cutting out and re-welding 200 m of production seam.
Nothing was wrong with the sheet. The machine was set for the wrong polymer.
The method transfers from HDPE. The numbers do not. This guide covers only the differences, from GM17’s seam values to cold-weather rules, and ends with a method-statement checklist.
If you are reviewing a panel layout before mobilization, send the drawing and sheet thickness to our technical team for a GRI-GM17 check. Request a technical review.
Key Takeaways
- GRI-GM17 Revision 17, issued 11 June 2025, gives LLDPE its own seam table. At 1.5 mm, hot-wedge seams need 394 N/25 mm shear and 328 N/25 mm peel, against 525 and 398 N/25 mm for GM13 HDPE.
- GM17 caps 2% secant modulus at 60,000 psi and sets no yield requirement, which is why the sheet drapes and needs less thermal slack than HDPE.
- The same flexibility comes with a lower tear and puncture index than HDPE at equal thickness: 33 lb and 84 lb against 42 lb and 108 lb at 1.5 mm.
- Weld settings are qualified by trial weld at the start of each welding period and at least every four hours, never copied from an HDPE project.
- Every production seam needs a non-destructive test, and destructive coupons at the interval the project specifies. Continuity is not strength.
LLDPE Geomembrane Installation: The Short Answer
Yes, an LLDPE geomembrane installs with standard polyethylene equipment and the same crew skills as HDPE. What doesn’t carry over is the parameters and the acceptance criteria. Set the machine on the actual sheet, agree the slack allowance in writing, and test against the GM17 table rather than the GM13 table the crew used last season.
| Decision | HDPE habit | LLDPE correction |
|---|---|---|
| Welder setting | Recalled from the last HDPE job | Qualified by trial weld on the actual sheet, each welding period |
| Slack | 10 to 15% extra dimension on exposed liner | A smaller allowance, agreed with the designer and checked at sheet temperature |
| Seam acceptance at 1.5 mm | 525 N/25 mm shear, 398 N/25 mm peel | 394 N/25 mm shear, 328 N/25 mm peel |
| Subgrade | Remove objects over 3/8 in (9.5 mm) | Same criterion, smaller margin for error |
The geomembrane installation guide covers the generic sequence, including subgrade construction and anchoring. This page stays on what changes with the polymer. Two companion articles cover LLDPE vs PVC geomembrane and LLDPE geomembrane chemical resistance.
What Changes When the Sheet Is LLDPE
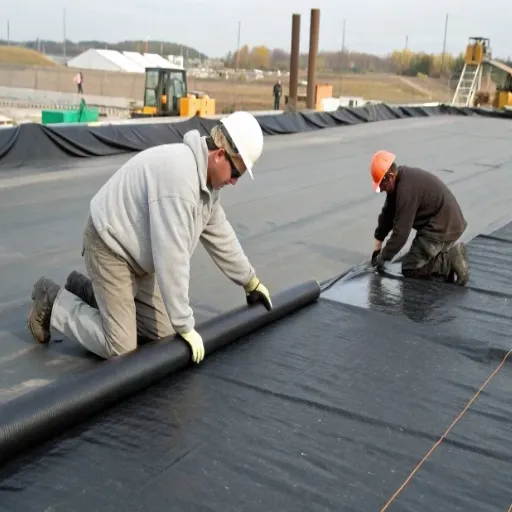
GRI-GM17 covers LLDPE at a formulated sheet density of 0.939 g/ml or lower, in thicknesses from 0.50 mm to 3.00 mm. Two clauses define how the material behaves on site. The 2% secant modulus is capped at 60,000 psi (414 MPa), and there is no yield requirement at all. Break elongation must reach 800% on smooth sheet.
The modulus cap is the important one. It stops a supplier from meeting the tensile row with a stiffer polyethylene that won’t conform to uneven ground. A sheet that passes GM17 is, by definition, flexible.
It is not the whole picture. At equal thickness, GM17’s minimum tear and puncture values sit below those in GRI-GM13:
| Property at 1.5 mm | GM17 LLDPE | GM13 HDPE |
|---|---|---|
| Break strength | 228 lb/in (40 kN/m) | 228 lb/in (40 kN/m) |
| Break elongation | 800% minimum | 700% minimum |
| 2% secant modulus | 60,000 psi maximum | Not required |
| Yield strength | No requirement | 126 lb/in |
| Tear resistance | 33 lb (147 N) | 42 lb (187 N) |
| Puncture resistance | 84 lb (374 N) | 108 lb (480 N) |
Read those rows as a margin, not a verdict. A lower index value doesn’t mean an LLDPE liner fails more often in service. It means the sheet has less reserve against a stone, a root stub, or a boot heel than an HDPE sheet of the same gauge. The subgrade has to be right, because the material won’t buy back a bad one. The GRI-GM17 specification breakdown carries the full property set.
Subgrade and Panel Layout: Where Flexibility Stops Helping
Most public installation manuals set the same subgrade criteria for polyethylene liners. The Raven HydraLine QC manual, one of the few field manuals that covers LLDPE and HDPE in one procedure, requires:
- No sharp stones or objects over 3/8 in (9.5 mm), no sticks, and no debris.
- No standing water, mud, snow, frost, or excessive moisture.
- Compaction to at least 95% Standard Proctor.
- Abrupt grade changes no greater than 1 in (25 mm).
- Desiccation cracks no wider than 1/4 in (6 mm).
LLDPE conforms better than HDPE, so it contacts more of the rough surface. The limits are not relaxed for a flexible sheet.
Panel layout belongs in the same conversation. Run seams parallel to the line of maximum slope, because a seam across a slope is a seam in tension. Keep field seams out of corners and sumps, and detail pipes and outlets before the main panels are deployed. A penetration cut after welding costs a patch and a retest.
Consider a 4,000 m² reservoir in northern Chile. The crew signed off the subgrade on a dry afternoon, then a night of rain turned the surface to ruts before deployment. Rather than re-grade, the site rolled out over the ruts, trusting the flexible sheet to conform.
It did conform. It also punctured at eleven points along a wheel track, and the electrical leak location survey found every one. Re-grading would have cost a day. The survey, the patches, and the retests cost four.
The LLDPE geomembrane thickness page covers how gauge interacts with subgrade condition and protective cover.
Deployment: Slack, Temperature, and Wind
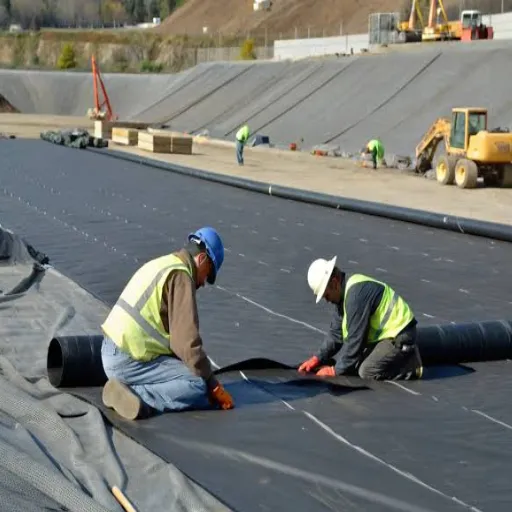
Slack is where experience with HDPE actively misleads. Polyethylene moves a great deal with temperature: HDPE has a coefficient of thermal expansion around 203 ×10⁻⁶ mm/mm/°C, and a 33 m liner can move more than 50 cm across a −40 °C to +35 °C swing. The usual advice for exposed polyethylene is 10 to 15% extra dimension.
That figure is written for stiff, restrained sheet. A technical note from Contain Enviro makes the distinction directly: flexible, unsupported materials need less slack than stiff or supported materials, because they accommodate movement by stretching locally instead of building stress into the seam. LLDPE behaves like the flexible group.
Less is not none. An LLDPE panel welded into an anchor trench and left exposed will still contract, and the load lands on the seam or the anchor. Three practices keep it manageable:
- Agree the slack allowance with the designer in writing, as a percentage of panel dimension.
- Measure temperature at the sheet, not in the air. Black liner in sun can run far above ambient.
- Place tie-in seams and backfill anchor trenches at the coolest part of the day.
The same QC manual sets deployment between 0 °C and 50 °C unless the engineer approves otherwise, and puts the best welding window at 10 to 40 °C. Wind is the other risk. Ballast panels as they are placed, keep equipment under about 5 psi ground pressure, and don’t cut wrinkles out on a hot afternoon. A wrinkle that looks permanent at 14:00 may be gone by evening, and the cut becomes a patch.
Welding LLDPE: Why HDPE Settings Do Not Transfer
LLDPE melts at a lower temperature than HDPE and welds across a different window. No published range survives contact with reality, because the right setting depends on the sheet, the machine, and the weather. Any page that gives you one number is describing its own equipment, not yours.
The geomembrane installer qualifies the welder by trial weld. The common field rule, stated in the QC manual above, is a trial weld before each welding period and at least every four hours, made from the same sheet, at the same thickness and surface finish, under the same conditions. Make the sample at least 3 ft by 1 ft with the seam centered, then peel and shear it. If the sheet temperature or the weather changes, run another one.
A peel that opens at the weld interface indicates too much heat, too little pressure, or too slow a travel speed. A peel that tears the parent sheet is what you want.
Method choice follows the detail, not the material. Dual-track hot wedge makes the long production seams, because the channel between the tracks can be pressure tested. Extrusion fillet handles details, repairs, pipe boots, and the seams a wedge cannot reach. ASTM D8580-24 is the practice reference for wedge welding of polymeric geomembranes and belongs in the method statement. Before extrusion welding, buff or scrape the weld zone to remove surface oxidation, and keep the prepared surface clean.
The geomembrane welding and seam testing guide covers machine setup and defect diagnosis in more detail.
Seam Testing: The Right Table and the Right Interval
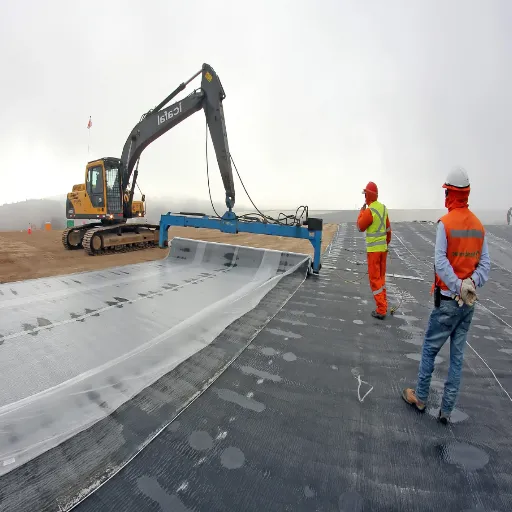
Two tests answer different questions. Non-destructive testing asks whether the seam is continuous. Destructive testing asks whether it is strong. Passing the first says nothing about the second.
Non-Destructive Testing
For a dual-track wedge seam, the air channel test is the standard check, following ASTM D5820. Pressure the channel between the two weld tracks and watch for loss. For extrusion seams, patches, and repairs, use a vacuum box following ASTM D5641/D5641M. Run NDT on every production seam, not a sample of them, and repair and retest any indicated defect before the next panel goes down.
Destructive Testing
Destructive sampling follows a frequency set by the project. GM17’s seam appendix allows several approaches. The most restrictive is one sample per 150 m of seam. Less restrictive options rely on GRI-GM14 or GRI-GM20 sampling methods, or on complete reliance on an electrical leak location survey after installation. Many project QC manuals use a simpler field rule: one sample per 500 to 1,000 linear ft per welder, with five peel and five shear specimens.
GM17 is strict on one point. All five shear specimens must meet the table values and the 50% shear elongation requirement, and the failure must be ductile. Some project specifications accept four of five. Agree which rule applies before welding starts, not after the first failure.
The table an LLDPE inspector should be holding looks like this:
| Nominal gauge | GM17 hot-wedge shear | GM17 hot-wedge peel | GM13 hot-wedge shear | GM13 hot-wedge peel |
|---|---|---|---|---|
| 1.0 mm | 263 N/25 mm | 219 N/25 mm | 350 N/25 mm | 263 N/25 mm |
| 1.5 mm | 394 N/25 mm | 328 N/25 mm | 525 N/25 mm | 398 N/25 mm |
| 2.0 mm | 525 N/25 mm | 438 N/25 mm | 701 N/25 mm | 530 N/25 mm |
Every value carries the same conditions: 50% minimum shear elongation and no more than 25% peel separation. GM17 also allows elongation measurement to be omitted in field testing, which is why some field reports show shear and peel only. Extrusion fillet peel values are lower than the hot-wedge values at the same gauge, so never apply one column to the other method. The seam specification table lists every gauge from 0.50 mm to 3.00 mm.
A failed coupon pauses the seam, not the job. Trace back to the last passing sample, or take intermediate samples within about 3 m, until the seam is sound. Cut out and re-weld the failed length, then test the repair, and record the location, welder, settings, and values. An electrical leak location survey can replace dense destructive sampling under some specifications, but it finds holes without telling you whether the weld bonded. The leak survey and reporting page explains what it covers.
Cold-Weather LLDPE Installation
GRI-GM9 sets the cold-weather rules for polyethylene seaming, and it applies at sheet temperatures from 0 °C down to −15 °C. Below −15 °C the standard doesn’t recommend seaming.
The procedure changes in ways that cost time:
- Do not seam in snow, sleet, or hail. Remove all frost and wipe moisture dry, including the underside of the lower sheet, or the wedge drive wheels slip.
- Slow the wedge. Travel speed drops as sheet temperature falls.
- Add trial seams. GM9 calls for one extra trial seam per day for each 7.5 °C below freezing, on top of the project’s normal frequency.
- Take additional destructive samples at the ends of continuous seams, where heat loss is greatest.
- Use moving tents in wind, and expect field tensiometer readings to be incomparable with room-temperature sheet strength.
LLDPE isn’t exempt from any of this, and the narrower weld window makes the trial-seam escalation more valuable, not less. A setting that produced a good peel at 5 °C won’t necessarily do so at −5 °C.
Repairs, Penetrations, and Backfill
A repair is a seam, and it gets the same discipline. For a patch, use the same material, give it at least 150 mm (6 in) of overlap, round the corners so they can’t lift, heat weld the body, and extrusion weld the perimeter. For a long seam repair, a cap strip should extend at least 150 mm beyond the defect on each end, with rounded corners and a fully welded perimeter. Test the repair before it is covered.
Pipe penetrations and outlet details are where many leaks begin. Use an engineer-approved boot or collar detail, weld it with extrusion, and vacuum box test the result. Don’t rely on sealant alone.
Backfill protects the liner from everything the subgrade criteria were meant to exclude. The QC manual calls for at least 300 mm (12 in) of clean cover soil, placed with equipment under about 5 psi ground pressure, working from the stable area outward so the machine never tracks on unprotected sheet.
Common LLDPE Geomembrane Installation Mistakes
- Copying HDPE wedge settings. The seam looks correct until it is tested.
- Applying GM13 acceptance values. A compliant LLDPE seam reads as a failure.
- Pulling the sheet tight. It removes the slack the panel needs and loads the seams as the sheet cools.
- Skipping trial welds after a weather change. Four hours is a minimum, not a schedule.
- Treating the air channel test as proof of strength. It proves continuity only.
- Covering a repair without retesting. After burial, only a leak survey remains.
What the Method Statement Should Contain
A usable LLDPE installation method statement answers these questions in writing:
Before deployment: subgrade acceptance and sign-off, panel layout, seam orientation, the slack allowance, and GM17 conformance records per roll lot.
Welding: trial-weld frequency and criteria, settings by thickness per machine, and cold-weather triggers with the extra trial-seam rule.
Close-out: NDT coverage by seam type, destructive sampling interval and acceptance table, the repair and retest rule, and the as-built record.
Frequently Asked Questions
Can LLDPE geomembrane be welded?
Yes. It’s thermally fused with a hot wedge or an extrusion fillet, as HDPE is. GRI-GM17 Revision 17 gives acceptance values for both.
What welding temperature should I use for LLDPE?
There’s no universal number. LLDPE welds at a lower temperature than HDPE, but the right setting depends on the sheet, the machine, and the weather. Qualify it with a trial weld and test the sample in peel and shear.
Can I use an HDPE installation procedure unchanged?
No. The sequence is the same, but the weld window, the slack allowance, and the seam acceptance values differ. An HDPE procedure will produce seams that look right and test wrong.
How much slack does LLDPE need?
Less than HDPE, because the sheet stretches locally instead of building stress. It still needs some. Agree the allowance with the designer and measure it at sheet temperature.
Can LLDPE be installed in cold weather?
Yes, down to a sheet temperature of −15 °C under GRI-GM9, with slower welding, frost removal, and extra trial seams. Below that, the standard doesn’t recommend seaming.
How much does LLDPE geomembrane installation cost?
Labor depends on site access, seaming length, testing requirements, and crew rates, so no single figure is honest. The LLDPE geomembrane price guide covers material cost.
Conclusion
LLDPE geomembrane installation is an HDPE job with four changed numbers. The weld window is different and has to be qualified on the sheet. The slack allowance is smaller. The seam acceptance table is GM17’s, not GM13’s. And the subgrade matters more, because the same flexibility comes with less tear and puncture reserve.
Get those four right and the rest is standard polyethylene practice. Get them wrong and the seams can look perfect while failing peel.
Constc Mart supplies LLDPE geomembrane from 20 mil to 100 mil (0.5 mm to 2.5 mm) in smooth and textured finishes. Send us the panel layout, the thickness, and the containment liquid, and we will confirm the material data against GRI-GM17 and flag what the method statement should cover. Request a quote or datasheet.